In a dream world, we wouldn’t have to worry about ticks at all. We could go for long hikes on wooded trails and walk our dog wherever we’d like, all without having to worry about the threats of Lyme disease and other tick-borne illnesses.
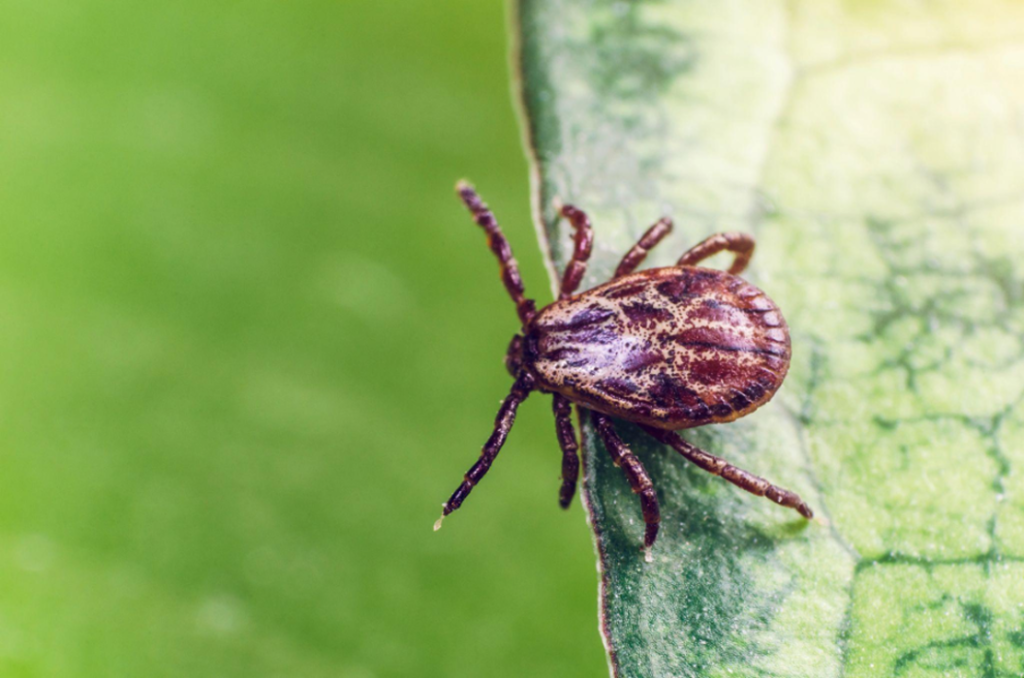
Unfortunately, that’s not the world we live in. And here in Simpsonville, SC, ticks are a very real problem. The trouble with ticks is that they’re hard to spot and can carry everything from the aforementioned Lyme to Rocky Mountain spotted ever and more.
The good news is that most tick-borne diseases require the blood-sucking parasite to be attached to you and feeding for several hours before they begin to transmit harmful pathogens. Because of this, knowing how to properly remove a tick (and how to do so quickly) is key.
In this post, we’ll walk you through everything you need to know in order to do just that, and how Action Pest may be able to stop tick problems before they ever get that far.
Why Knowing How to Properly Remove a Tick is So Important
Perhaps one of the most dangerous misconceptions people have about ticks is that just getting them out is the most important thing.
It’s true that removing a tick is important, but you need to be smart about how you do it. Ticks firmly embed their mouthparts into your skin, using their barbs to hold on tight. They feed slowly and can go unnoticed for hours or even days.
If they’re removed improperly (like by crushing, burning, or twisting), the body can break apart, leaving its mouthparts embedded in your skin and increasing the chance of infection.
Proper removal also prevents regurgitation. If you irritate a tick while you’re removing it, it can regurgitate its stomach contents into your bloodstream. This may include harmful bacteria.
Step-by-Step Instructions: How to Properly Remove a Tick
When you spend time outdoors, be sure to check yourself at least every two to three hours for ticks. This will help you detect and remove them before they latch on fully or transmit any diseases.
Step 1: Gather Your Tools
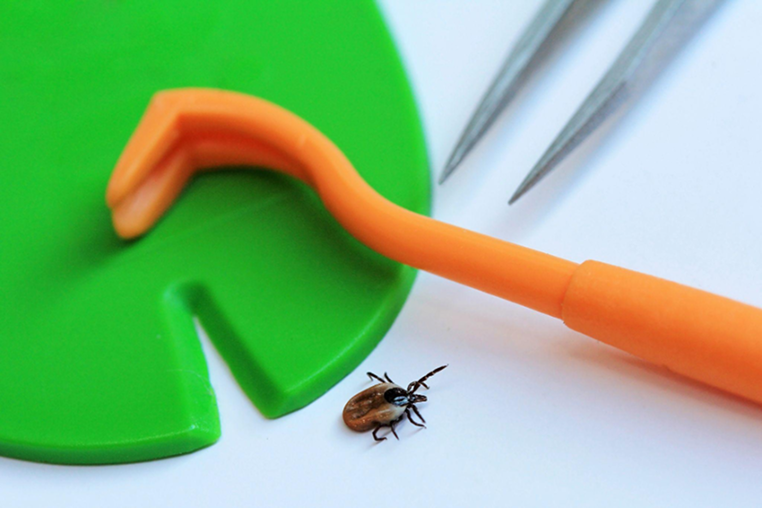
You’ll need to begin by gathering up all your gear. To properly remove a tick, you’ll need fine-tipped tweezers or a specialized tick removal tool (which you can buy in many pharmacies or online), gloves (optional but recommended), and antiseptic.
A common mistake many people make is using their fingers to pinch off the tick. This is dangerous because it not only increases the risk of breaking off part of the tick inside of you, but it also means you could be exposed to diseases through open cuts or secretions.
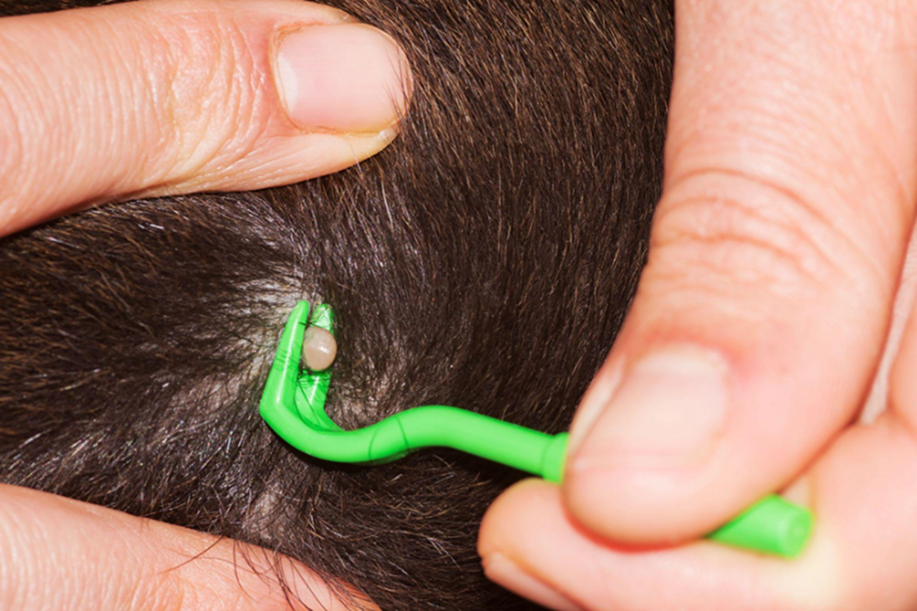
Step 2: Position Your Tweezers
Using the tweezers, position them as close to the tick’s head as possible, right where its mouth meets your skin. By getting this close, you can make sure you remove both the tick and leave its attached mouthparts intact.
Step 3: Pull the Tick Out
Gently, but firmly, pull the tick straight out of your body. Do not twist, jerk, squeeze, or crush the tick. Again, this can cause its mouthparts to remain embedded in (or force its fluids into) your body.
Step 4: Dispose of the Tick
Once the tick is removed, you need to get rid of it. Place it in a sealed bag, flush it down the toilet, or drop it in a container of alcohol or soapy water to kill it. If you want to get the tick checked to see if it carried any diseases, seal it in a plastic bag or small vial and keep it refrigerated until you’re able to bring it to the health department.
Step 5: Clean the Bite Site (and Your Hands)
After you’ve removed and disposed of the tick, wash both the bite site and your hands thoroughly with soap and water. Apply antiseptic to prevent infection.
Step 6: Continue Monitoring for Symptoms
Once the tick is gone, it doesn’t mean your work is over. You need to keep a close eye on the bite site and the rest of your body to make sure you don’t develop any symptoms. If you notice any problems like a fever, rashes (particularly the tell-tale bullseye rash), or flu-like feelings, contact a healthcare provider immediately.
Make sure you let them know about the tick bite, as many tick-borne diseases are treatable with antibiotics (but only if you detect and treat them early enough).
How to Prevent Tick Issues Before They Start
The best way to avoid the hassle of removing ticks is to make sure they stay away from your property in the first place.
Unfortunately, ticks love warm climates, wooded areas, and grassy environments, all of which Simpsonville has plenty of. Ticks wait for their hosts at the tips of the grass, on shrubs, or on low-hanging branches. They then latch onto pets or people as they pass by.
While ticks can be a year-round problem in some places, they’re especially active during the warmer months, which also happens to be when all of your outdoor activities are in full swing.
There’s not much you can do about getting rid of ticks on your favorite hiking trail, but close to home, there are lots of adjustments you can make to make your yard less inviting.
For starters, mow your grass regularly and keep weeds trimmed. Clean up debris like leaf litter, woodpiles, and spilled birdseed, which attract rodents (and the ticks that hitch rides on them).
You may also want to create tick-free zones around your home by applying insecticide along the edges of high-risk areas like overgrown shrubbery or woodlines where you can’t mow. Don’t forget about the importance of wearing long sleeves and pants, as well as your own dose of insect repellent, whenever you venture out into areas where ticks might be found.